For this art project students explored:
Elements of Art:
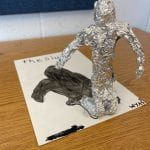
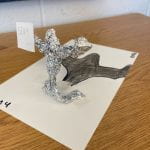
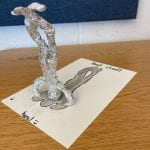
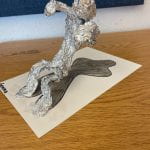
Form: a three-dimensional object that has height, length, width, and depth.
Principles of Design
Balance: an equal distribution of weight through the sculpture. In this lesson it’s literal balance, in
which the sculpture has a solid base and won’t tip over.
Movement: the use of the elements of visual arts to draw a viewer’s eye from one point to another
in an artwork. In this lesson, it’s “implied” movement which draws a viewer’s eye from one point to
another.
Positive/Negative space: the object and the area around it. In this lesson it’s the figure and the
space around it.
Proportion: the relationship of parts to the whole. In this lesson, it’s body parts in proportion to
the body
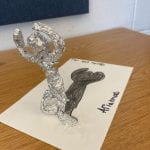
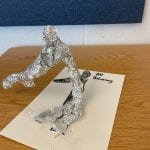
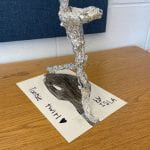
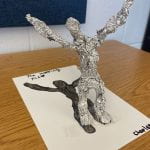
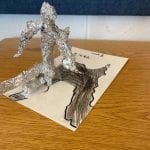
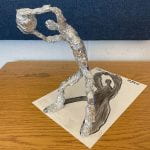
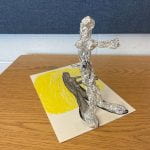
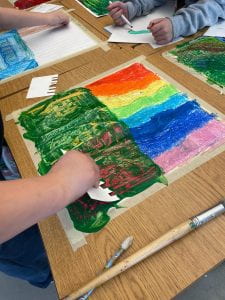
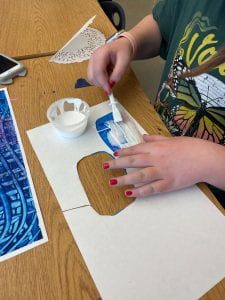
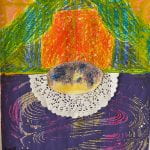
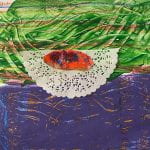
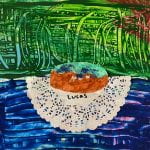
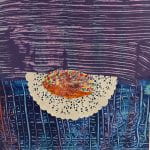
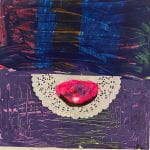
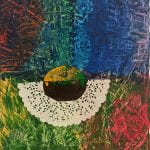
Students first watched a demonstration of how to turn a flat sheet of foil into a figure. The steps were written so students could follow the directions independently when creating their own project. Students had to think about a sequence of steps. They used themselves as real-life models to explore the shape of body joints, using observation and connecting skills. Once the figures were formed, students used a flashlight to explore the shape of shadows and then drew and coloured a shadow of their figure as they considered point of view. They named their sculptures as a final step.